Recently, I got into retro labbing. Like everything else, I’ve probably gone a bit overboard…
Introduction
It’s safe to say that I’ve gotten extremely nostalgic for some of the computers of my youth. Old macs, 486s, and all the games from that time period constantly itched at the back of my head.
Sure, you can emulate this stuff, but it’s just not the same. Especially on a modern 4K screen, you end up looking at a game/emulator/etc that is like 3 inches tall. And if you try to upscale it, it just doesn’t look right.
There’s also something to be said about a computer where you can’t just flip away to a web browser, Discord, or other distractions.
The Beginning
Like so many other things, this all started on YouTube. I found myself watching a ton of retro YouTubers like LGR and the 8-Bit Guy. It didn’t take too long for the nostalgia to kick in hard, and I rearranged my office, and made a trip to the local Goodwill.
Unfortunately, I’m probably a few years too late for the kind of gear I’m looking for. All I was able to find was a PS/2 keyboard and mouse, a 4×3 LCD, and a fancy old power “strip” to fit the retro theme.
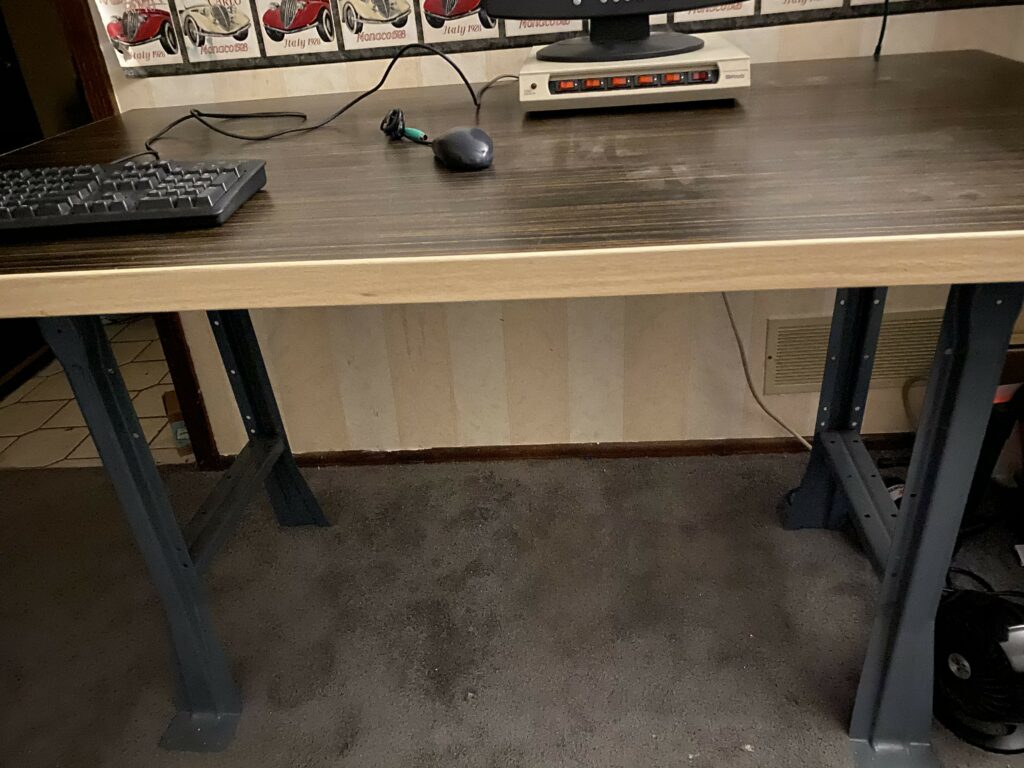
That’s when I remembered “the pile”. A stack of old computer stuff (mainly Macs), at my parent’s house.

So over the course of a few weeks, I brought home almost a dozen different machines. Unfortunately, these Macs have had a long hard life, and I was lucky to put together a few working machines from the parts of all. Some had dead PSUs, others had corroded logic boards from batteries/caps. Some the CD/Floppy drives were dead in various manners.
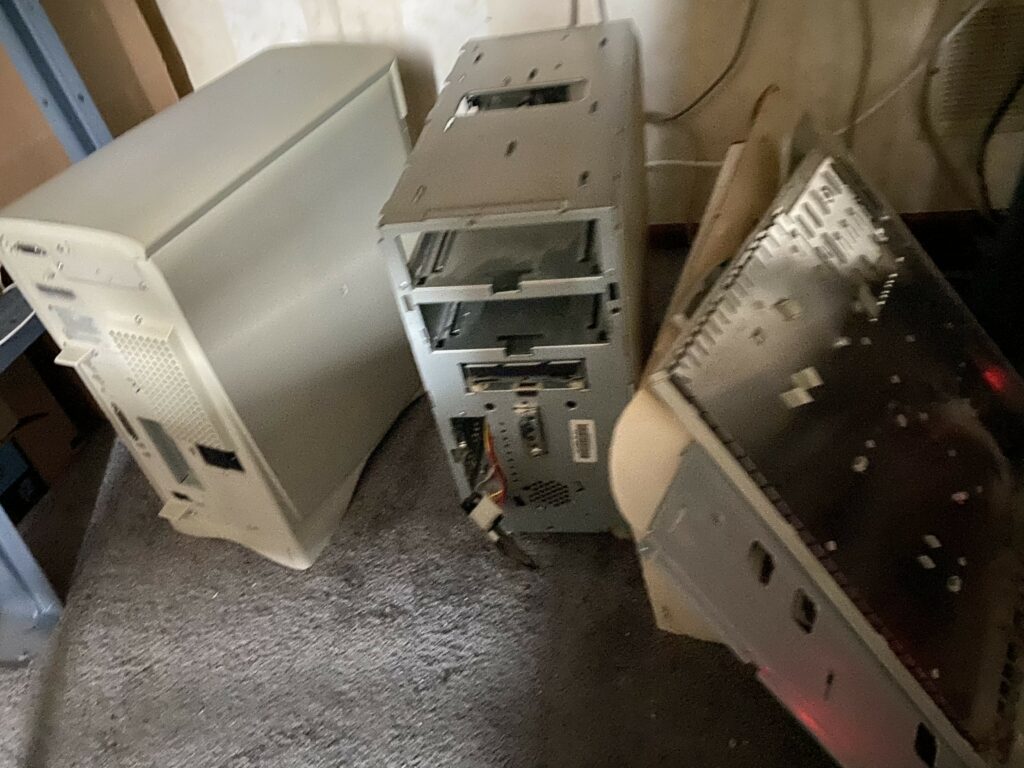
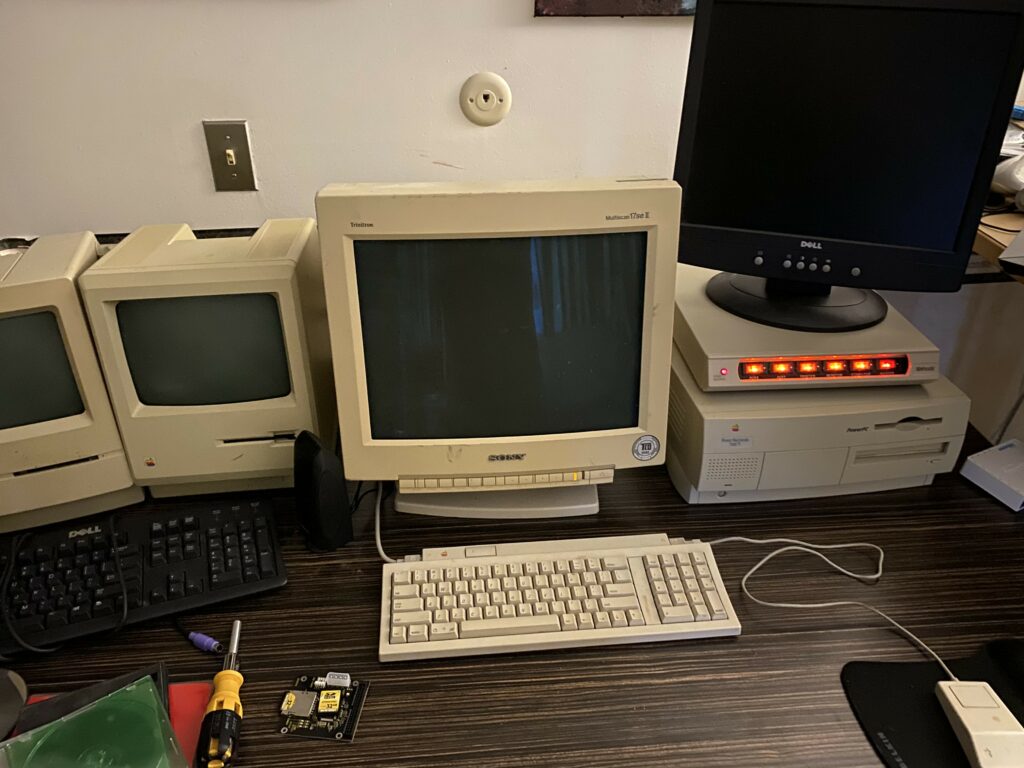
The holy grail of the haul was a 17″ Trinitron Monitor. It even has the old style BNC connections that I’ll never use:
In the end, the haul from the parents house resulted in:
- The 17″ Sony Trinitron Monitor
- 512K Mac
- One working Performa 6400/180
- One working Power Macintosh 6400/75
- A Mac SE (the pictured Mac Classic was ruined due to leaky caps)
- An array of parts like serial mice (important for the 486 later), IDE DVD Drive, random PCI cards like a Realtek 8139
Mac Land
Of course, dealing with old hard drives and floppy drives is a horrible experience, so there were a number of things to make it easier (where I could). The Macs that have SCSI are a bit more of a pain.
- SD Card to IDE adapter. In the 6400/180.
- Gotek USB Floppy Emulator. Can’t be used on the Macs, but for later use.
- IDE to SATA adapter and a $10 cheapo SSD. I bought this just in case the SD card didn’t perform as well as I would have liked.
- A fancy VGA+Sound switcher. Not quite as good as an actual KVM switch, but it works great.
- A wide array of cables, adapters, and more.
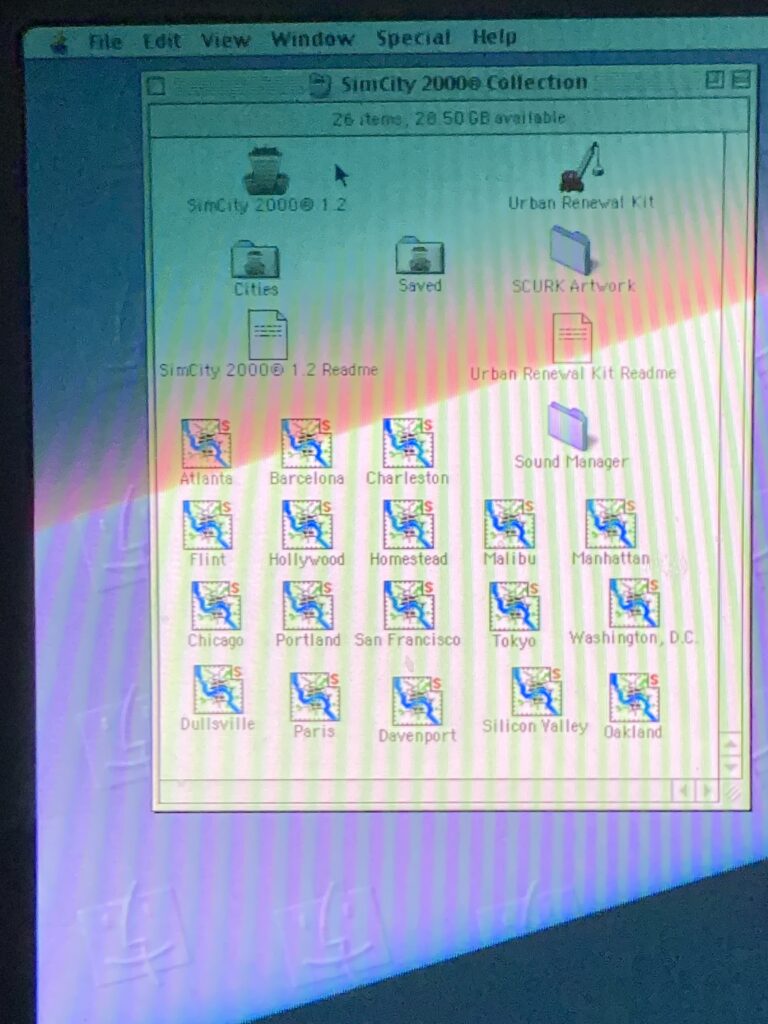
After getting the 6400 75 and 180 going, I immediately played a few games I loved:
512K Blues
Of course, the REALLY old Macs were the ones I wanted. The 512K in particular was one of my very first computers, and there were a number of games I was itching to play again on that natively. As mentioned, the Classic II I had was dead from leaky capacitors, so I was on a quest to make the 512K boot.
Unfortunately there was a problem. The initial rendition of the 512K only supported 400K disks, and you can’t just turn a double sided high density density into a standard density disk that the 512K can read. So it was off to BMOW and grabbed one of their Floppy Emulators for Mac.
As usual, Murphy’s Law kicked in, and I realized the 512K Mac wasn’t able to boot from “HD20” hard drive images that the Floppy Emulator can support. But I was in luck, and my Grandpa saved the day.
You see, years ago after he passed, I adopted a box of his random stuff. And in this box, there were a number of old standard density disks. So with my Floppy Emulator and one of those random disks, I was able to make an “HD20” boot disk. This basically just allowed the 512K to boot from a floppy and bootstrap into a disk image from the Floppy Emulator.
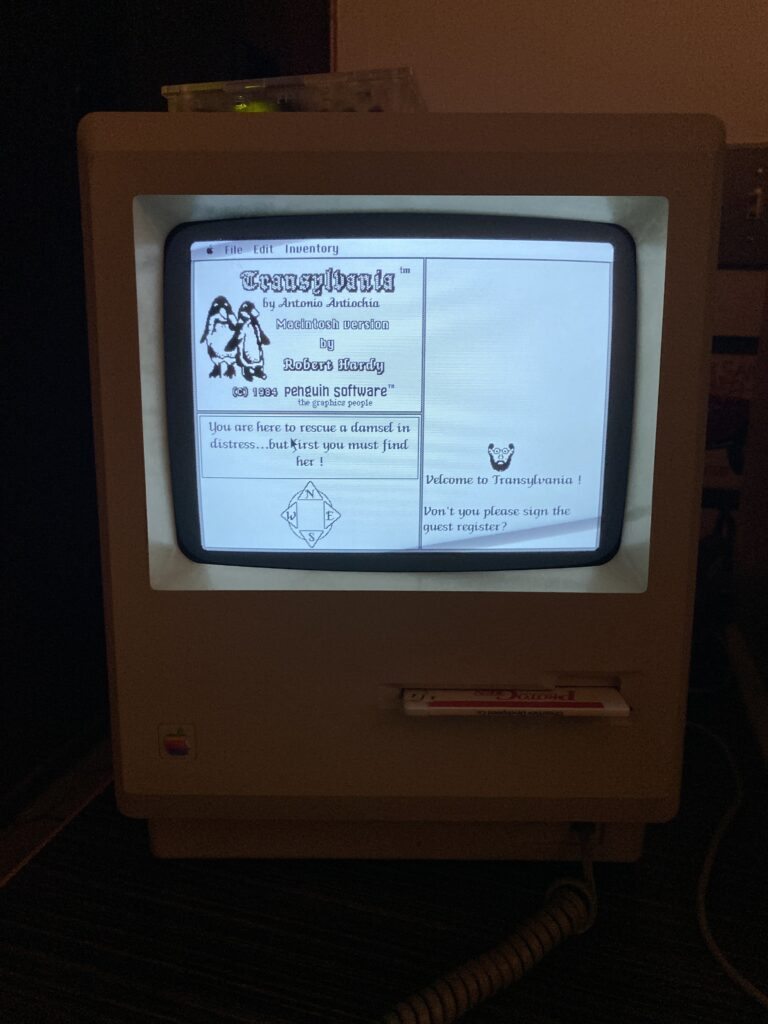
Success!!!
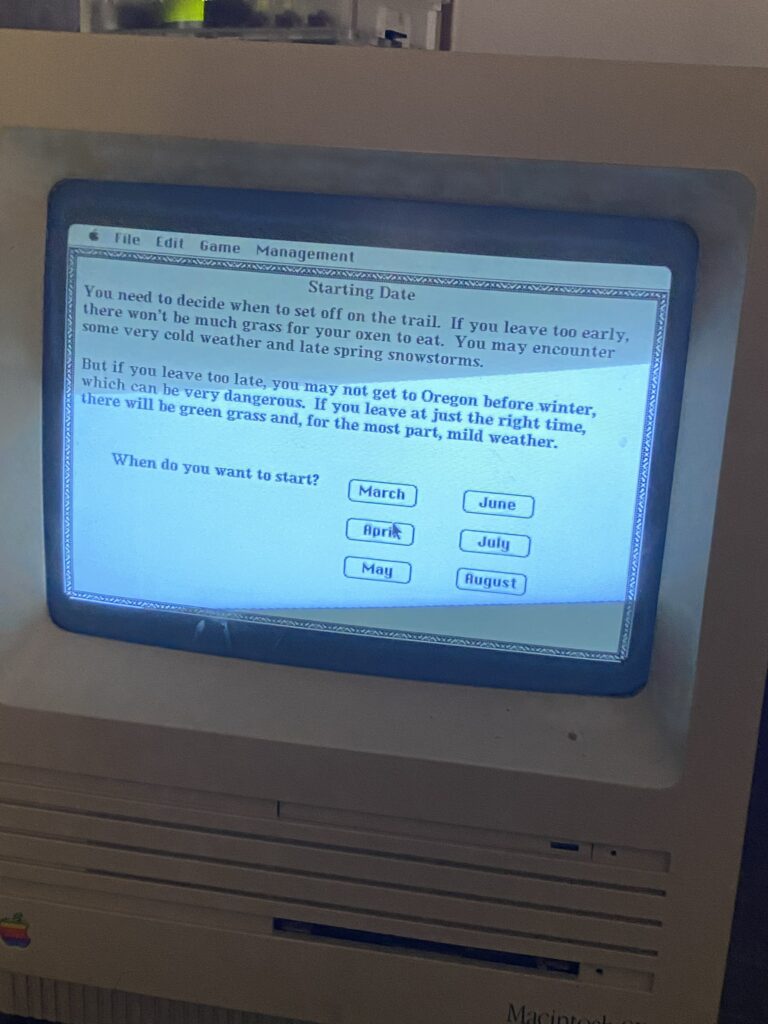
One of the very first games I ever remembered playing was Transylvania on a 512K Mac. And with the help of Grandpa’s disk, a hard drive shared out from the Floppy Emu, I was playing Transylvania on a Mac again!
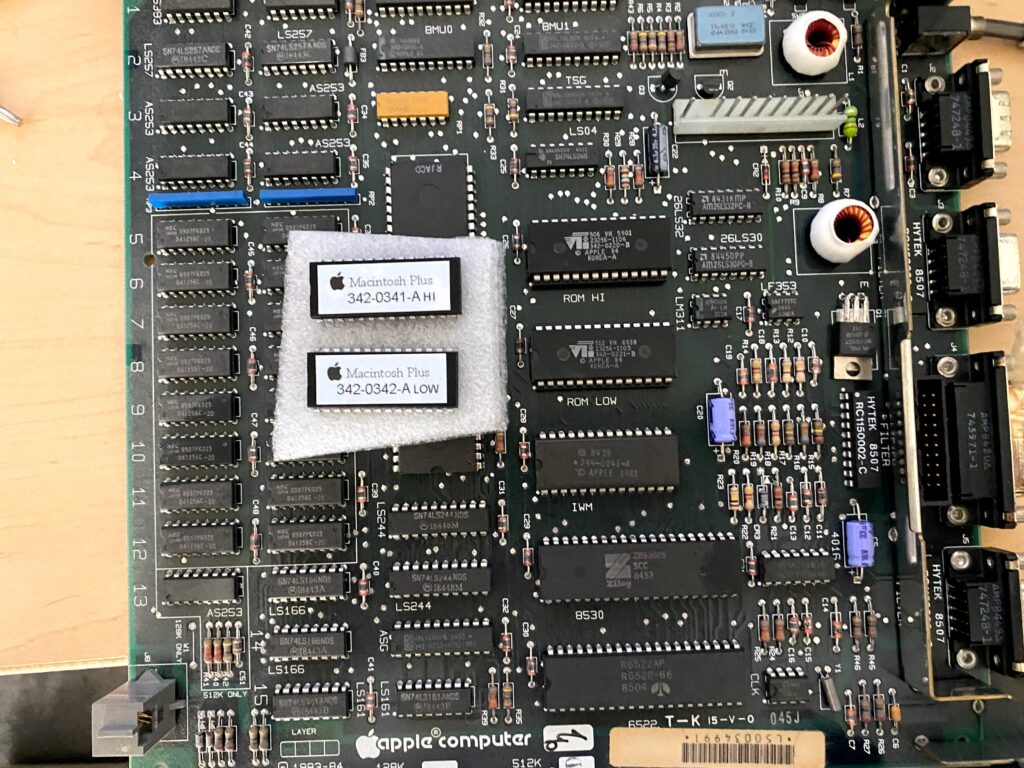
Again, Murphy’s Law kicked in, as this solution was unsustainable. All the standard density disks that were in Grandpa’s box were ancient. I was lucky to get one boot per 5 attempts. So after a bit of research, I discovered I could replace the ROM chips in the 512K, and it would boot from the HD20 virtual disk image without the boot floppy.
Mac SE
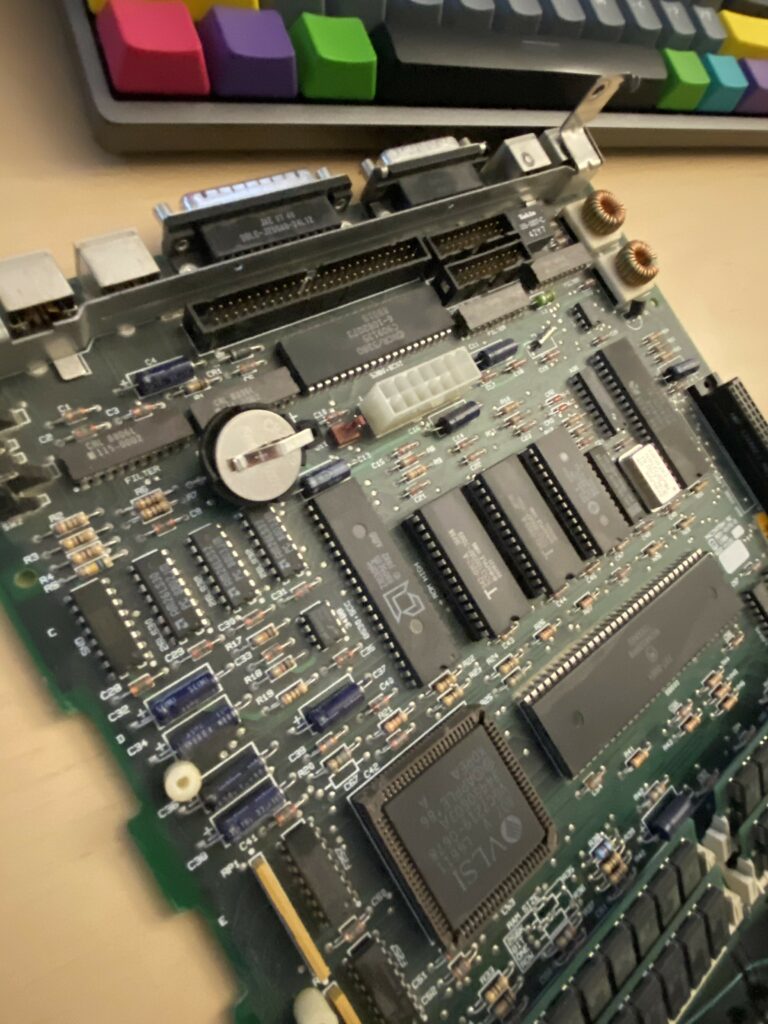
Of course, about 18 hours after ordering the replacement ROM chips, I discovered a Mac SE. Marginally better specs, doesn’t need any hacking to boot from hard disk images on the Floppy Emu. The only thing it need was replacing the soldered barrel battery with a button battery:
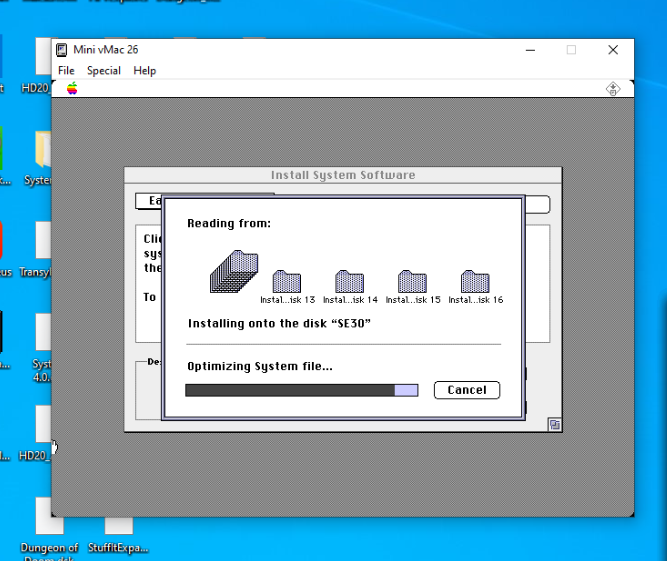
Using Mini vMac and hooking up the SD card from the floppy emu can help with some initial setup (ignore the SE30 name, didn’t look at the box when I named the disk)
Look ma, no disks!
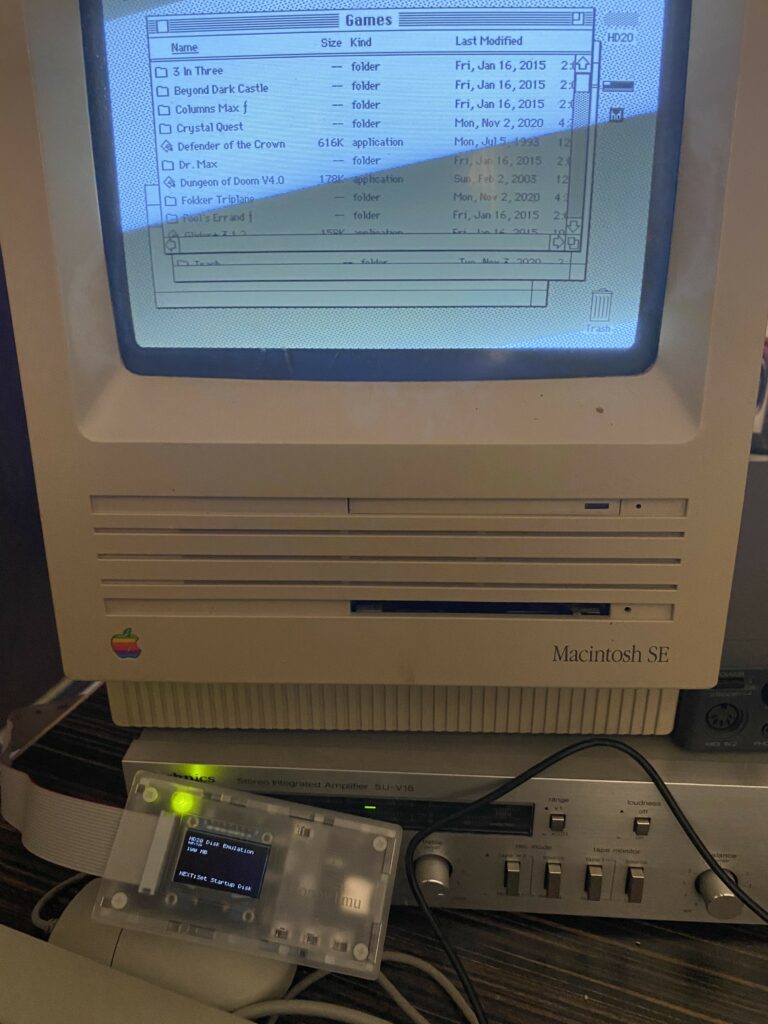
Being the banker almost feels like cheating… but I made it, and only one person died!
Unfortunately, the itch was only slightly scratched…
The PC Conversion
By far, my most nostalgic gaming years were the 80s/90s/00s. In particular, Classic Sierra and Lucasarts Adventure games are something I adore, and I still didn’t have a solution for that. So it was off to eBay for something that I could run old DOS games one.
The Micron
The end result was an old Micron tower, with a SE440BX2, PIII 500 MHz, 256MB of RAM, nice video card, and onboard Yamaha audio. The Micron didn’t come with a drive, so I dropped in my IDE->SSD adapter. MAN is that FAST.
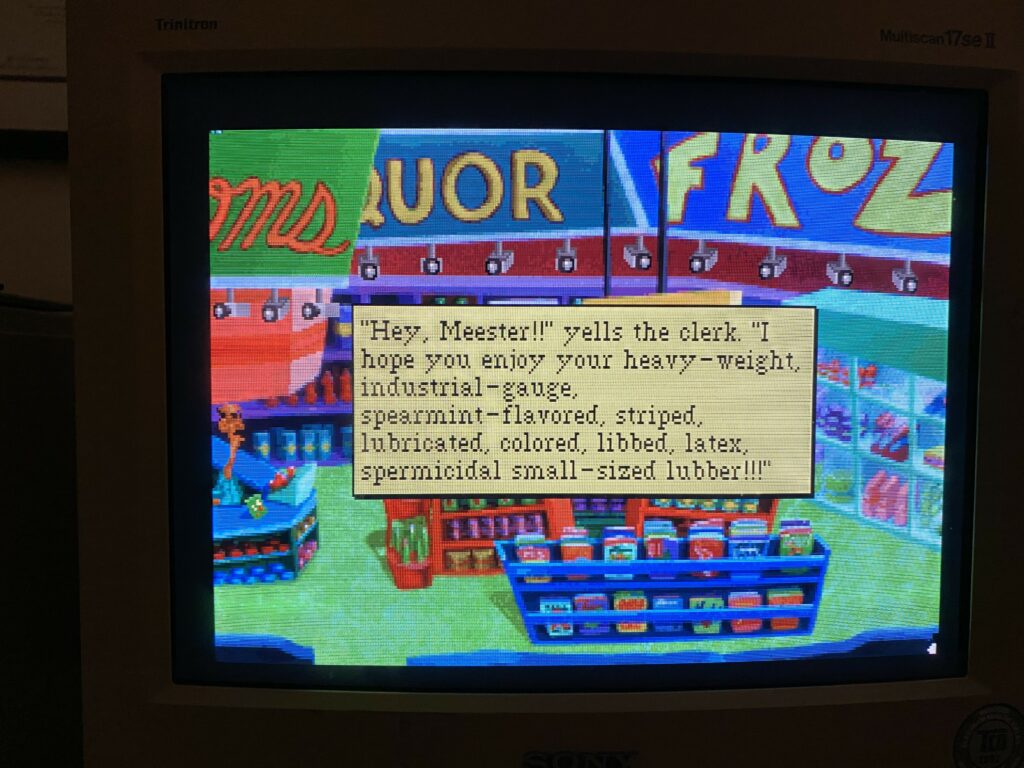
I initially had Windows 98 installed (now it’s XP), and was able to play some old classics, like Leisure Suit Larry 1 VGA Edition.
In this image you can see the ugliness of the stock Gotek Floppy Emulator. More on upgrading this later:
Discord on Windows XP? Absolutely!!
This is also where I learned the hard lesson of speed-sensitive games, and the mess that old sound cards are. A lot of the games I wanted to play just didn’t work, or sounded terrible. So after a bunch more research, it was back to eBay.
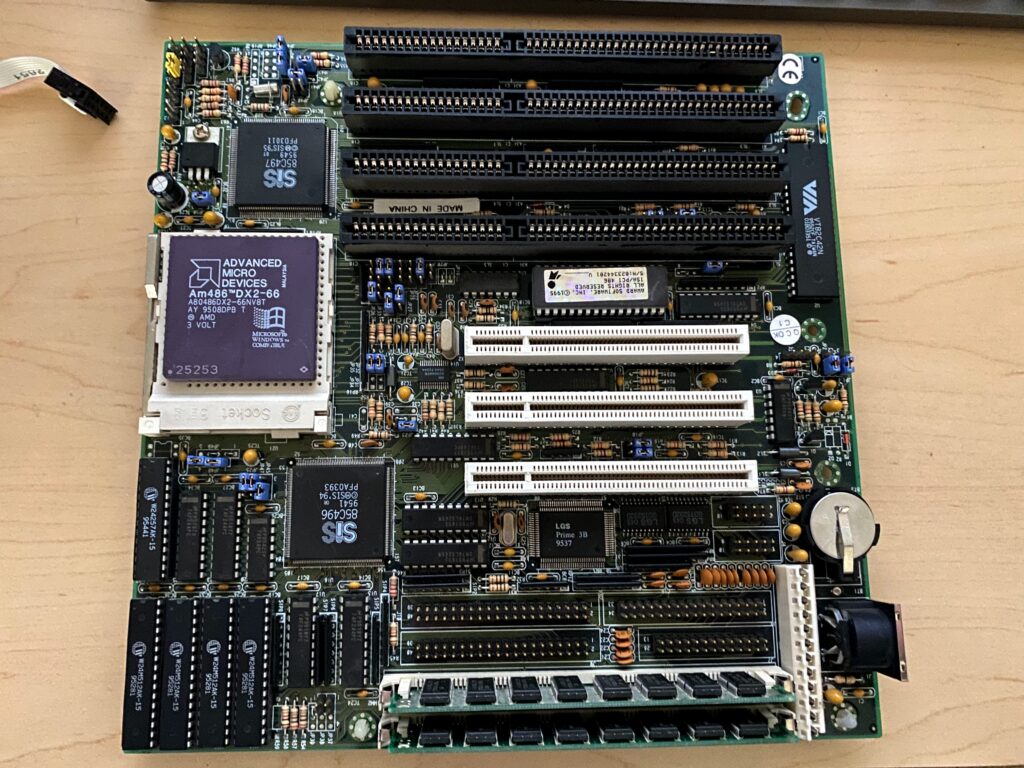
The Holy Grail
After a few days of search, I was able to find what, for me, was the holy grail:
- A motherboard with a button cell battery. No leaky barrel batteries allowed!
- Came with a 486dx2. Fast enough for everything I wanted to play from that era. Anything else can be done on the Micron.
- Motherboard was full of cache
- Came with some RAM, though I ditched that and upgraded to a whopping 32MB
- PCI and ISA
Because the board came with PCI, I was able to reuse an old S3 Virge Graphics card, and Realtek 8139 card I found at my parents.
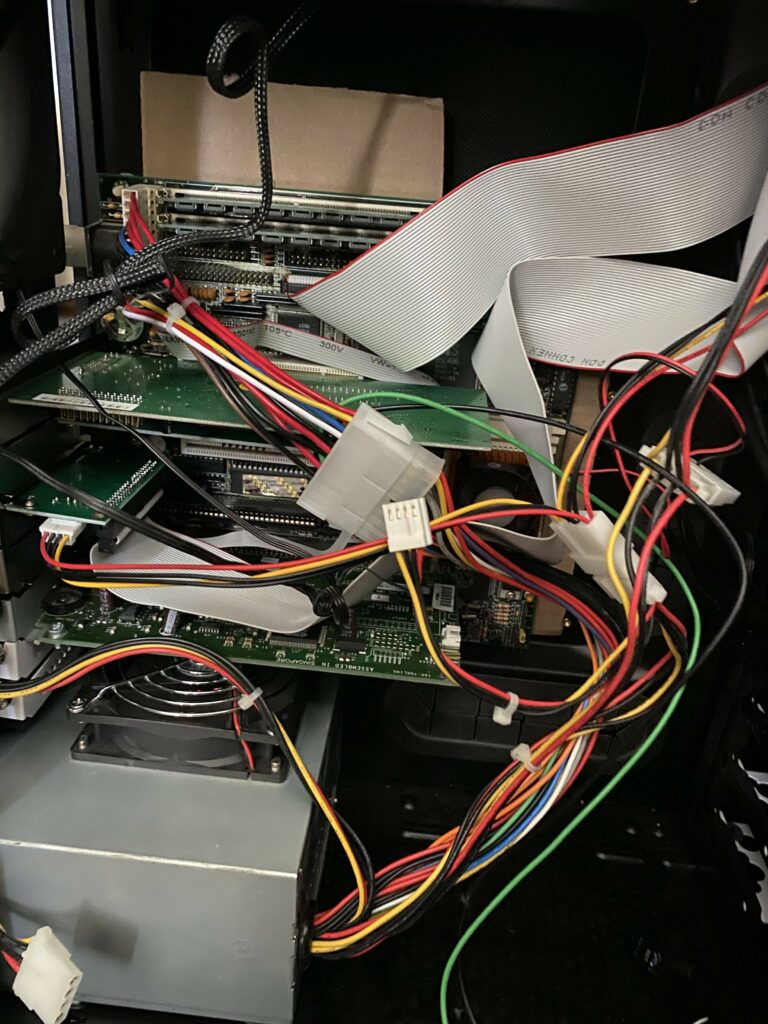
Plus, I found a pre-ATX 1.2 PSU, which supports -5 volts, which some ISA require. It might not be strictly required and I’ll probably upgrade it with a modern ATX PSU at a later date. I also just used my old Fractal R5 case that was leftover from other projects.
Not to mention an array of adapters and cables, like a 20 pin ATX to AT cable, a CF->IDE adapter, a PC Speaker (gotta have that sweet tingy sound in some games), some power splitters, and and array of other cables and adapters (a 3.5->5.25 bay adapter for example).
The motherboard arrived like a month later (it came from Ukraine), and it was everything I wanted in more. As a super bonus, from the BIOS, the cache can be disabled, which makes sound like in Indy256 work, and I can even play super speed sensitive games.
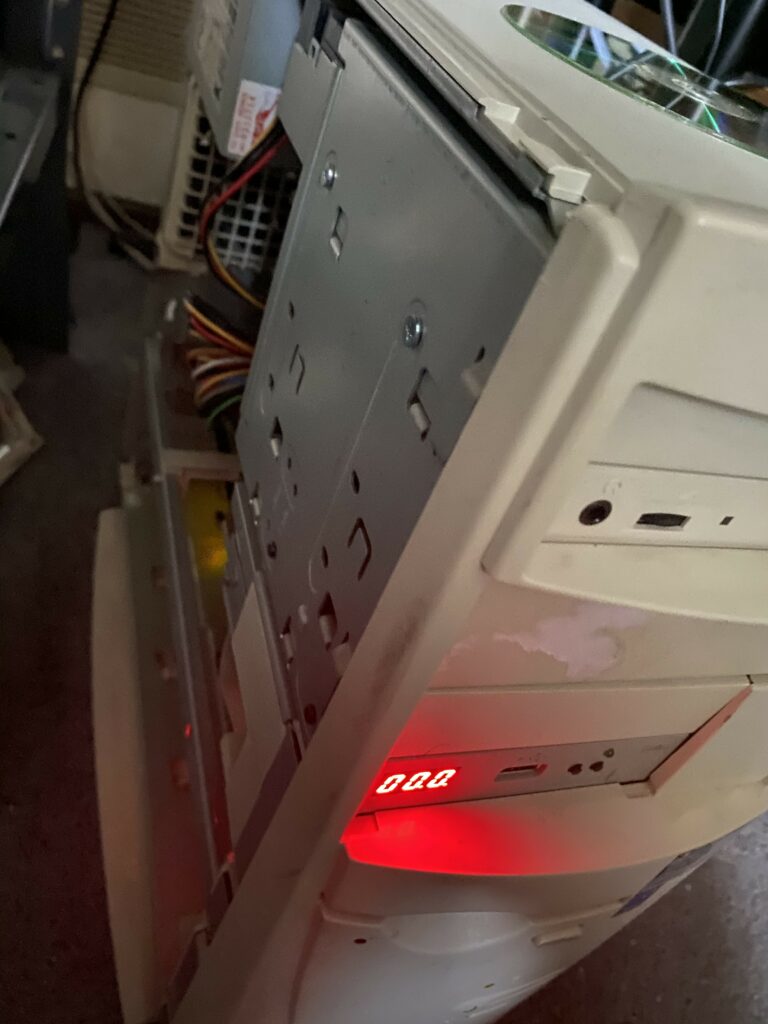
The assembly was easy, but not very pretty. All those converters, splitters, and ribbon cables are hell:
The Gotek
This is also when I took the opportunity to flash my Gotek with the FlashFloppy firmware. It requires VERY minimal soldering (soldering header pins, and jumpers), and a USB-A to USB-A cable. And with a cheap OLED screen (soldering a few more header pins and some jumpers), you can have something that’s INFINITELY more usable.
You just create a fat32 USB stick and drop floppy images on it, or create a floppy as below. My motherboard BIOS supports 2.88MB disks:
cp rtl8139.img /media/kroy/GOTEK/Drivers/or
mkfs.msdos -C TRANSFER288.img 2880
sudo mount /media/kroy/GOTEK/TRANSFER/TRANSFER288.img /mnt/disk
cp files /mnt/disk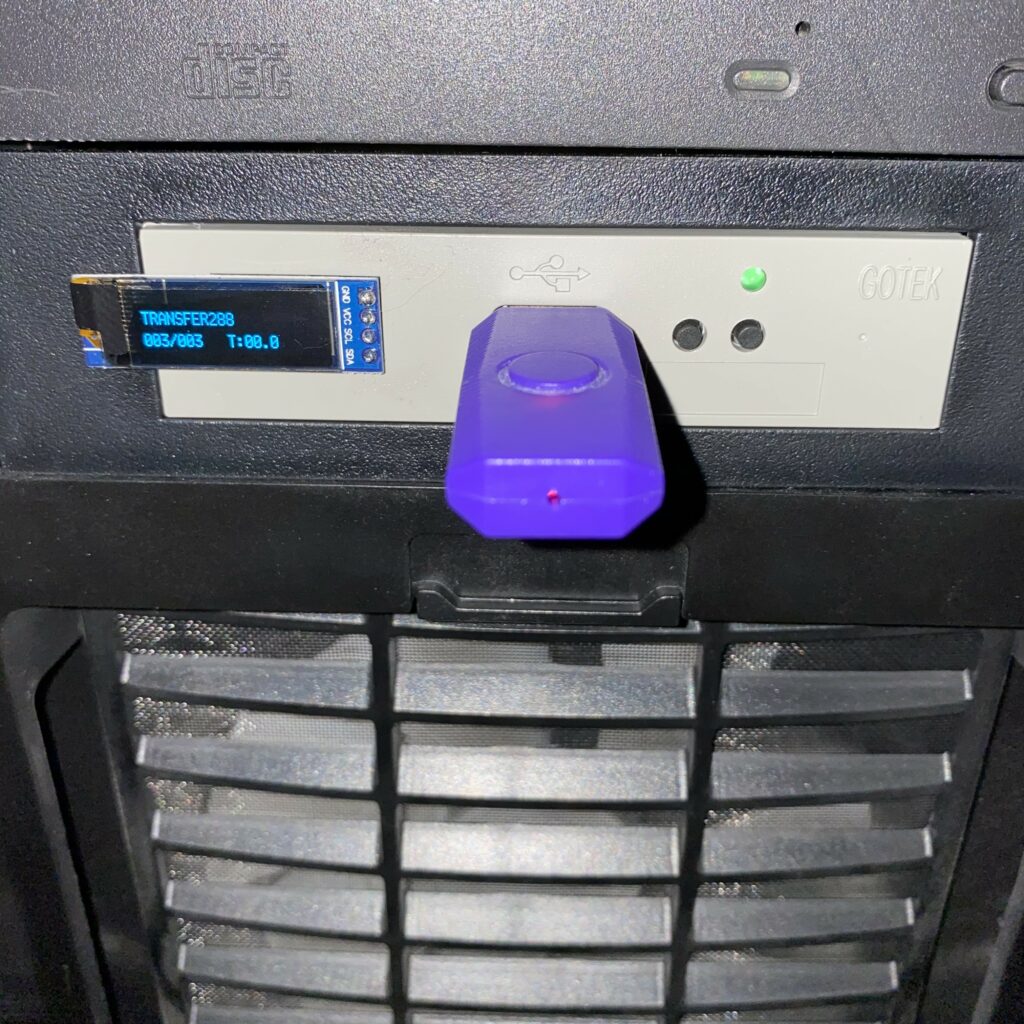
The 486
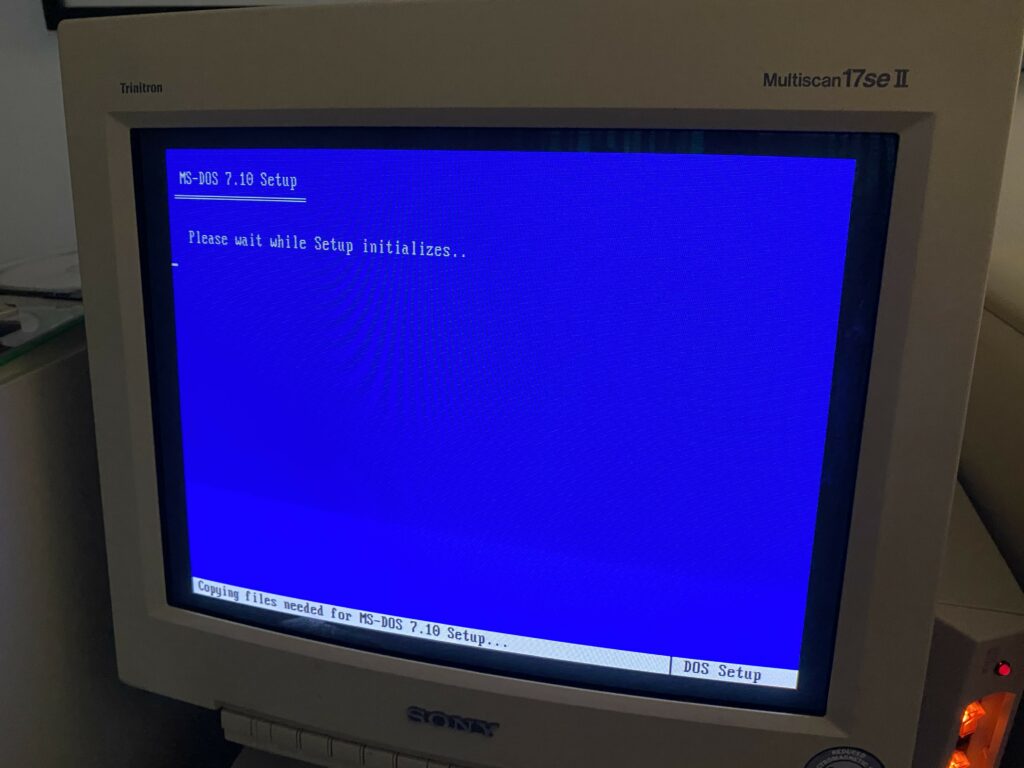
It didn’t take long for me to track down everything I needed to start installing my system. I chose MS-DOS 7.1, because I had an 8GB CF card and wanted to be able to use it all:
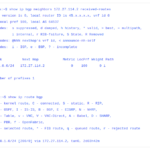
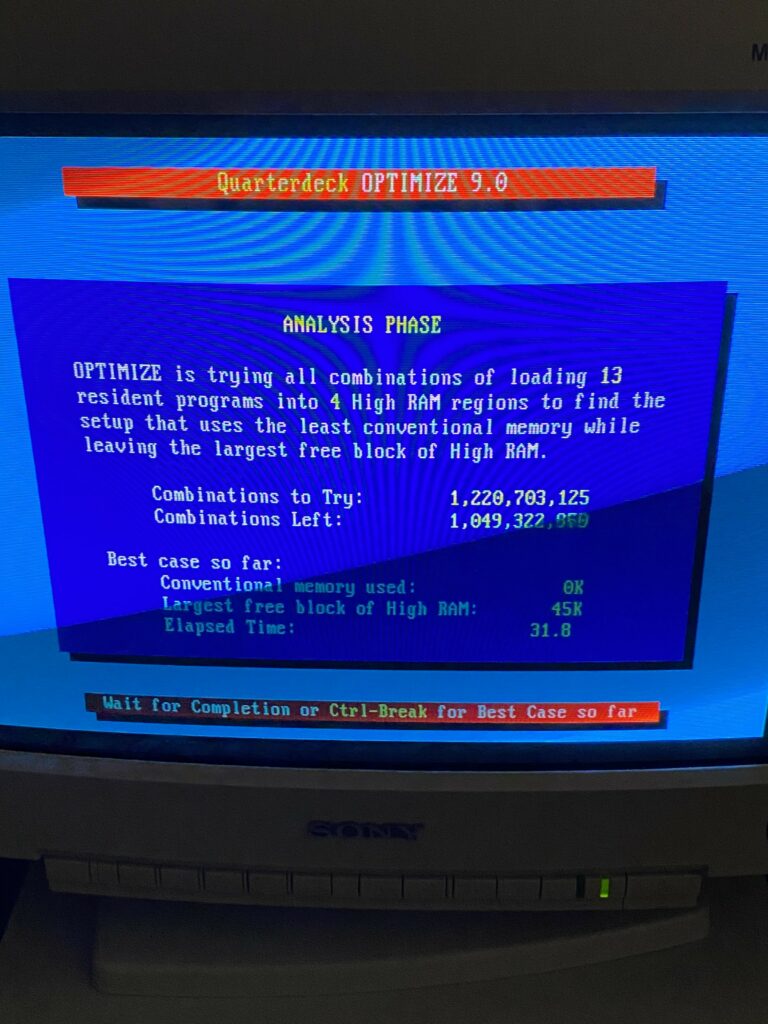
And with QEMMU, I’m able to get 631K of conventional memory with mouse, DVD, and other drivers all loaded, something 90s me could only dream of:
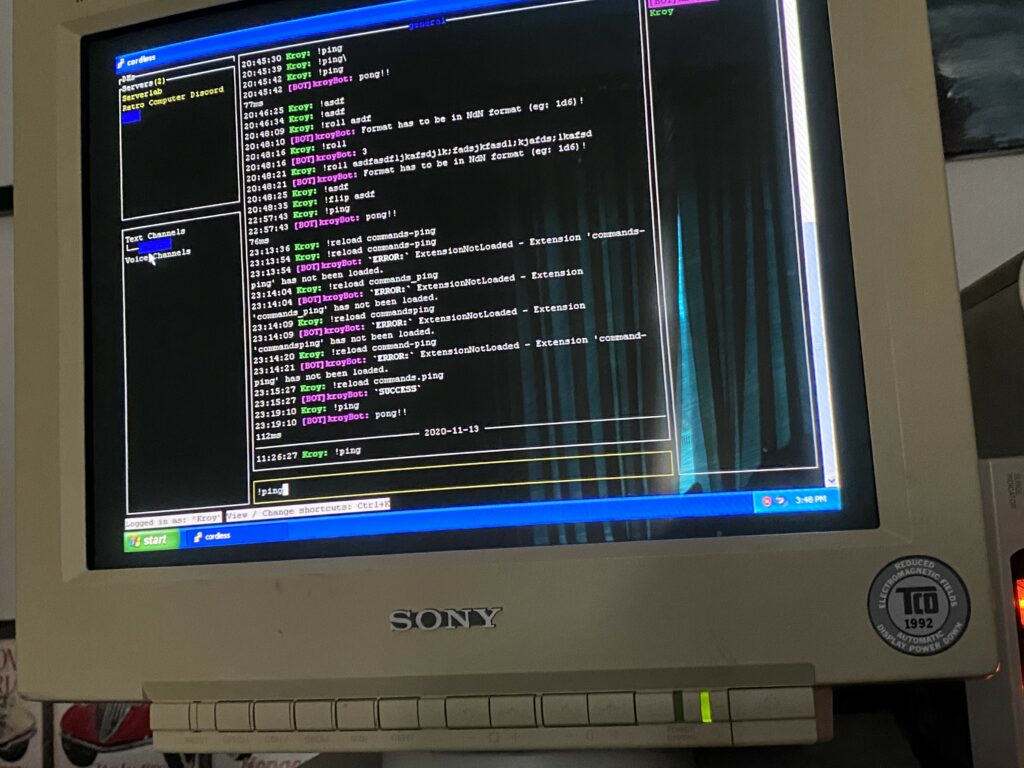
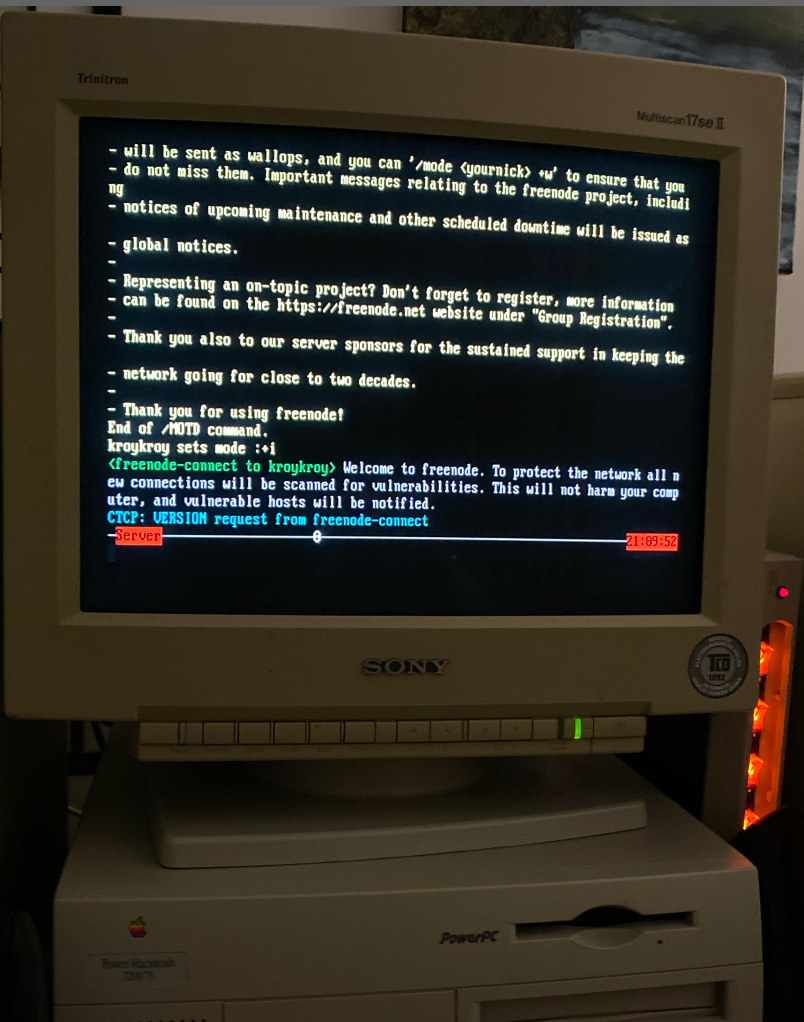
Getting on IRC from a 486dx2 and MS-DOS:
and running the disk test. I love the flatline of the hard drive graph:

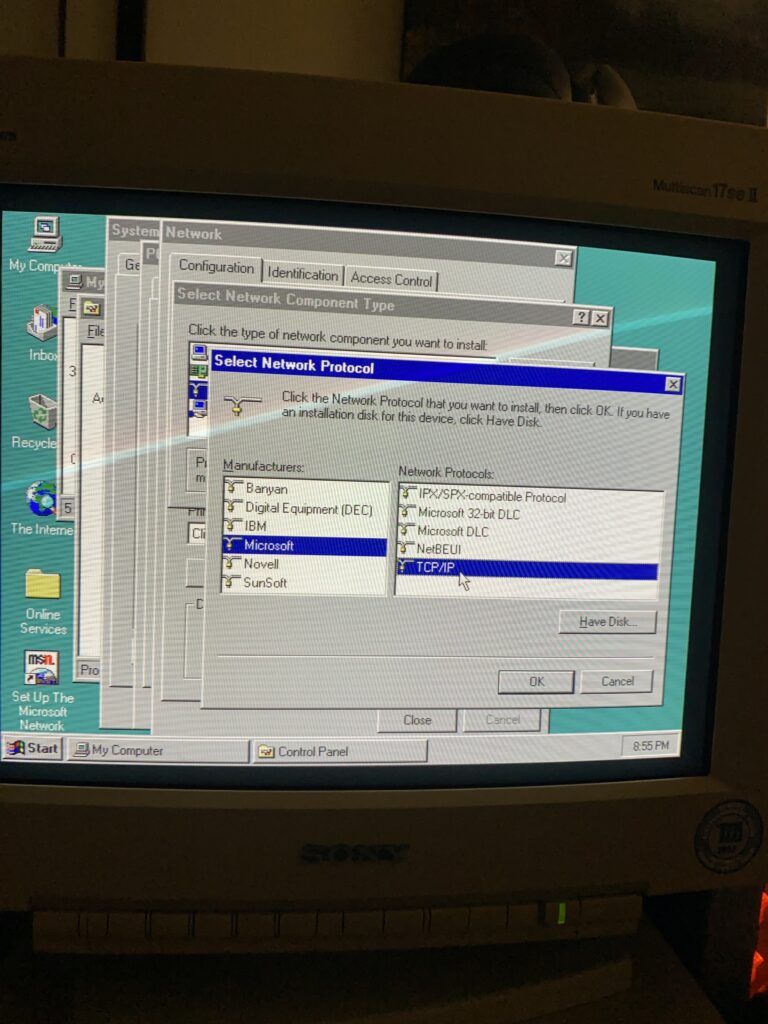
Windows 95
And because of the CF card, it’s easy to swap out and install Windows 95.
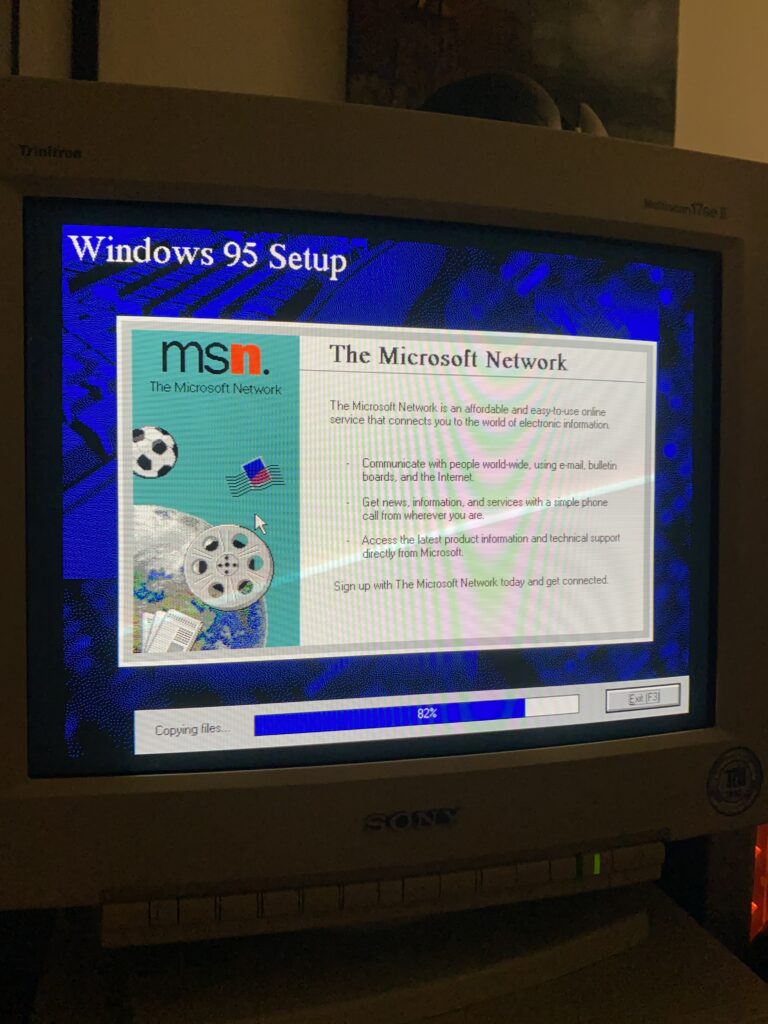
You know it’s been a long time when TCP/IP isn’t installed by default:
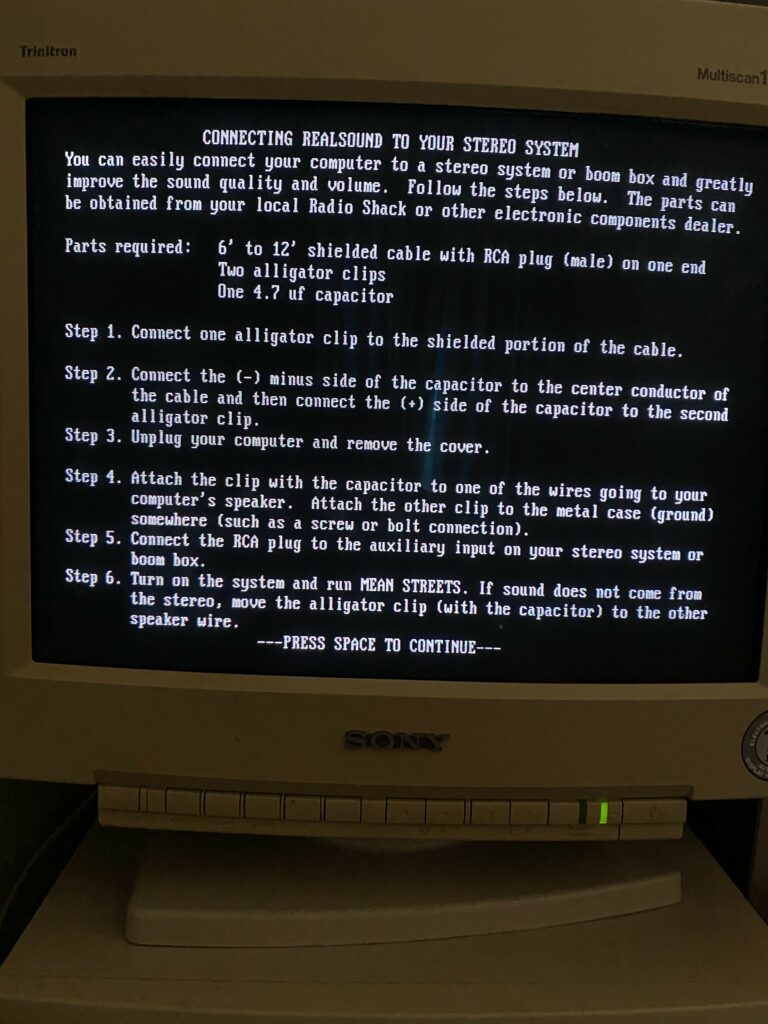
Can you imagine a game in 2020 telling you to do this?
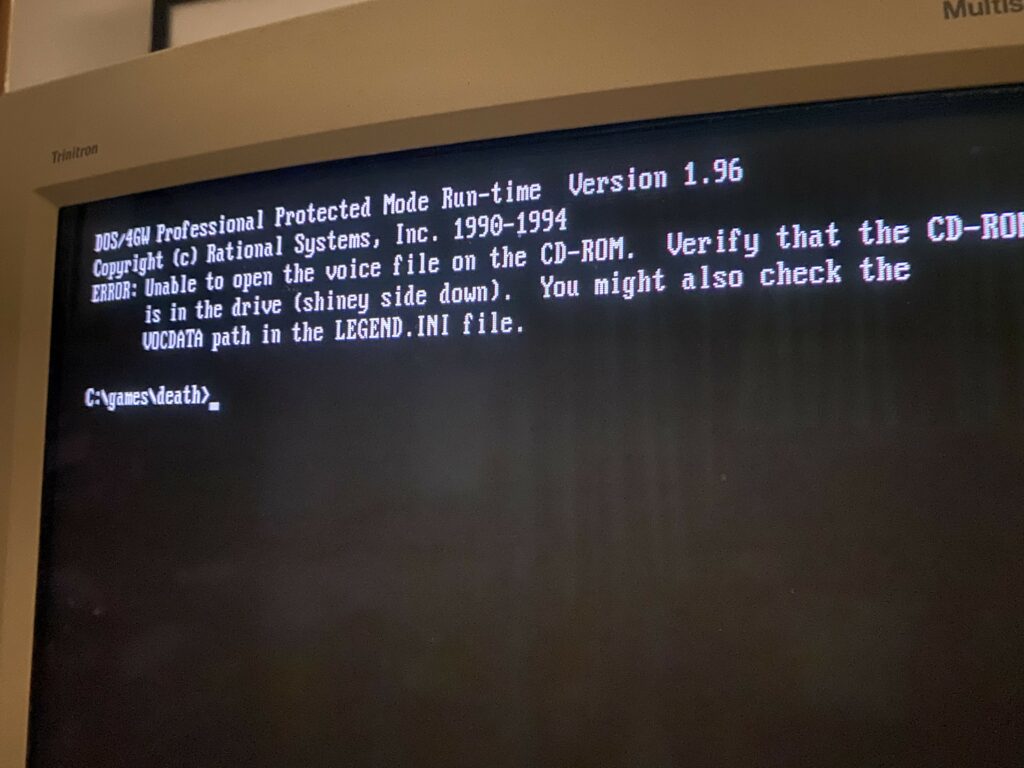
Or reminding you that the CD needs to go in “shiney” side down (does anybody even know what a CD is in 2020??):
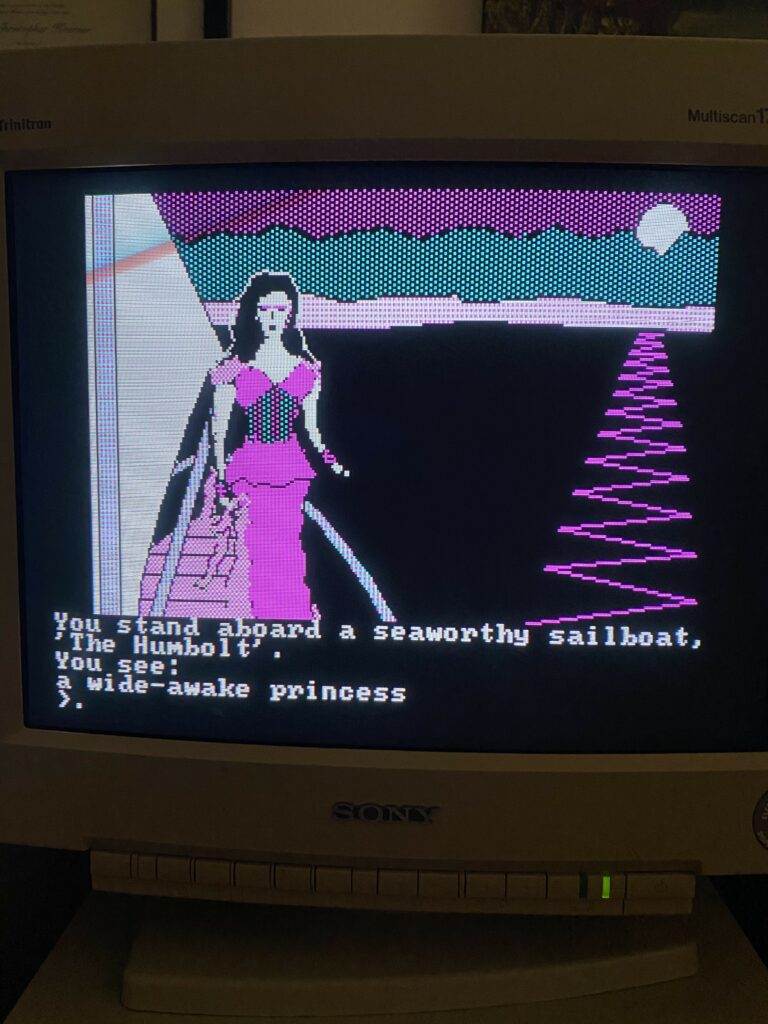
and revisiting Transylvania, the DOS version, in full CGA bliss:
The Sound Conundrum
As mentioned, sounds on DOS are… interesting. It didn’t take me long to realize… I NEEDED MIDI!!
Back in the last 80s/early 90s, MIDI was the stuff of legends for most people. Without it, most games just sounded sort of meh. Soundblasters and compatibles were okay, but not the best.
When I started this process, I had an old S3 PCI soundcard. It was just terrible on DOS. So I ordered an ESS1868, which according to Vogons, wasn’t terrible, especially for the price.
This was fine. Until I heard the Monkey Island Intro on MIDI…. life changed. Sure, the CD Audio version is “better”, but there’s a charm to midi version. So it was back to eBay for an SC-55 and a card that has a proper MPU-401 out. I landed on some ISA Yamaha thing, I think an Audician 32 clone, that sounds great. And somehow in the pile at my parent’s house, I found a gameport->5PIN Midi cable. Who the heck knows why I had that. At best I probably hooked up an old time electronic keyboard to a soundcard.
With the MIDI hooked up, all I can say is WOW. WHY DIDN’T I DO THIS EARLIER!?!? Especially when coupled with an old Technics amp I inherited from gramps (who knew he would be so helpful in this retro build!)
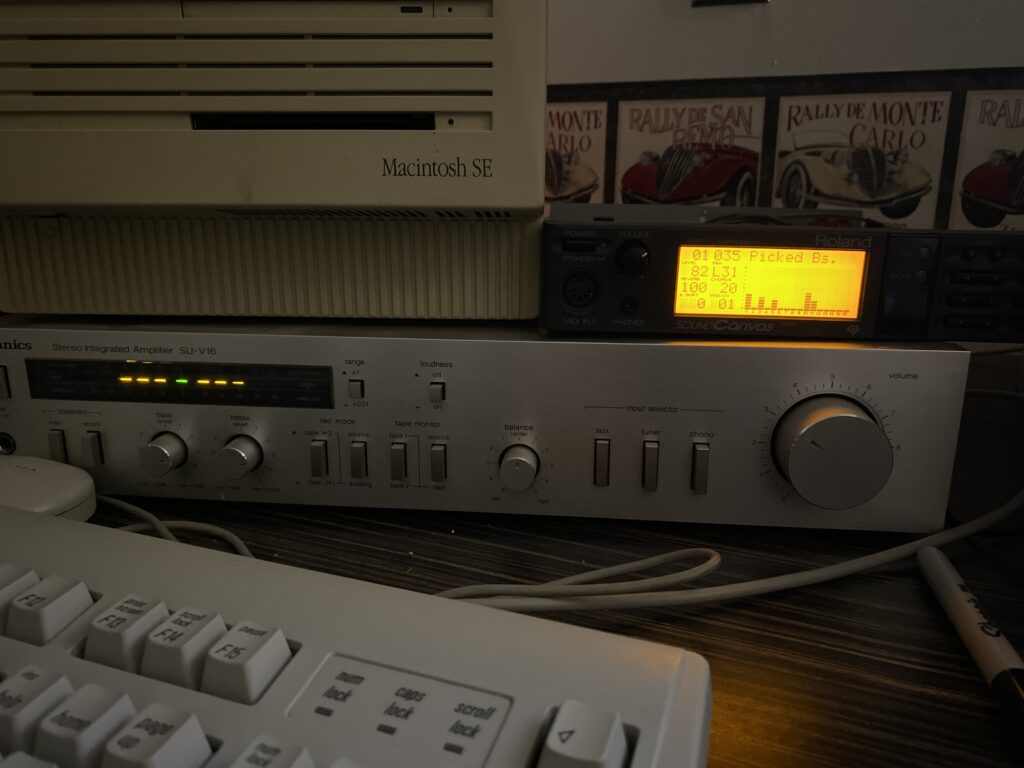
Of course, it’s not exactly perfect. There are some major changes in the sound between an MT-32 and an SC-55. But I’m not exactly ready to give up a kidney for an MT-32 yet, and slightly newer games that can use general midi/SC, sound AMAZING.
Conclusion
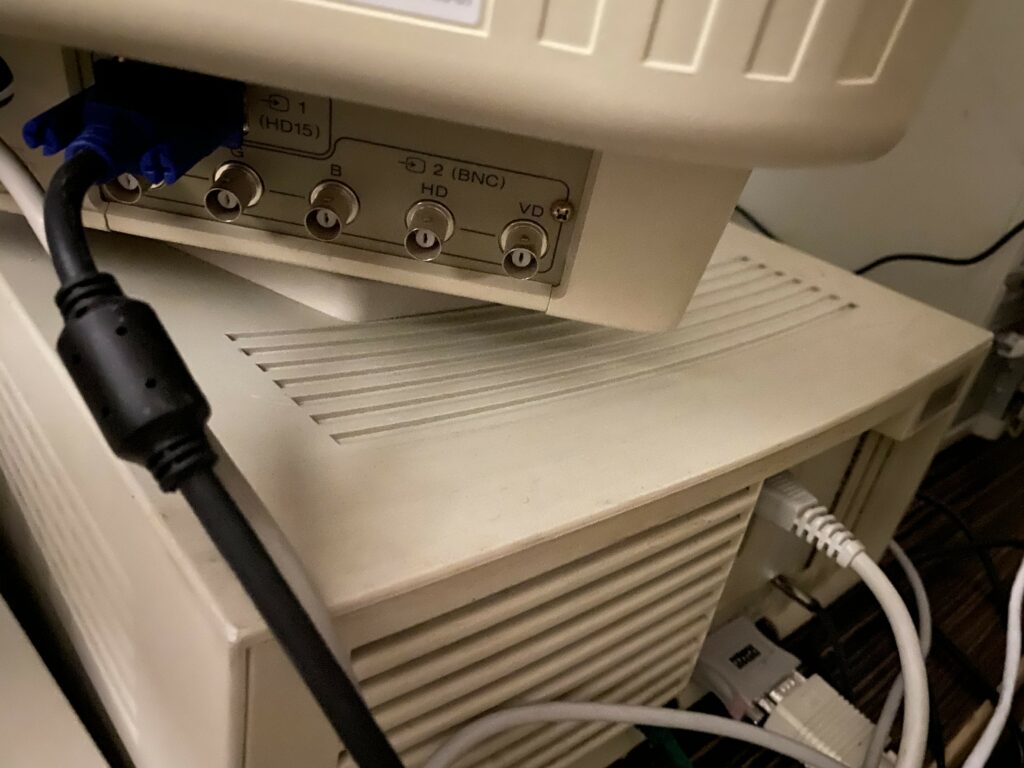
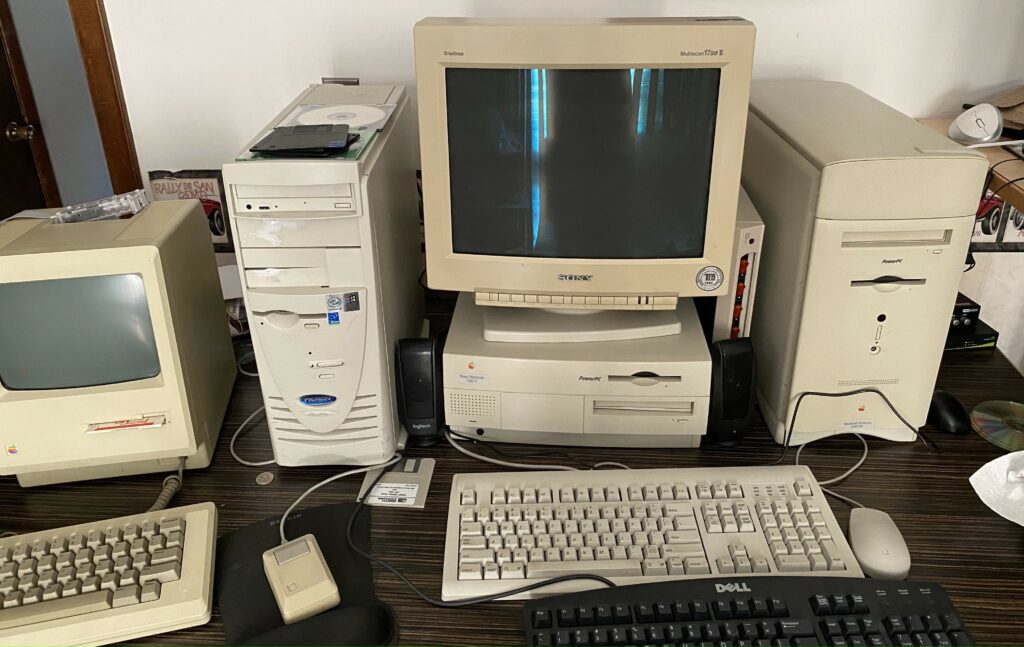
Here is the “final” retrolab for now. I say final in quotes, because things are always evolving. I think I want to upgrade the Micron to 768MB of RAM and a faster processor.
- Mac SE + Floppy Emu
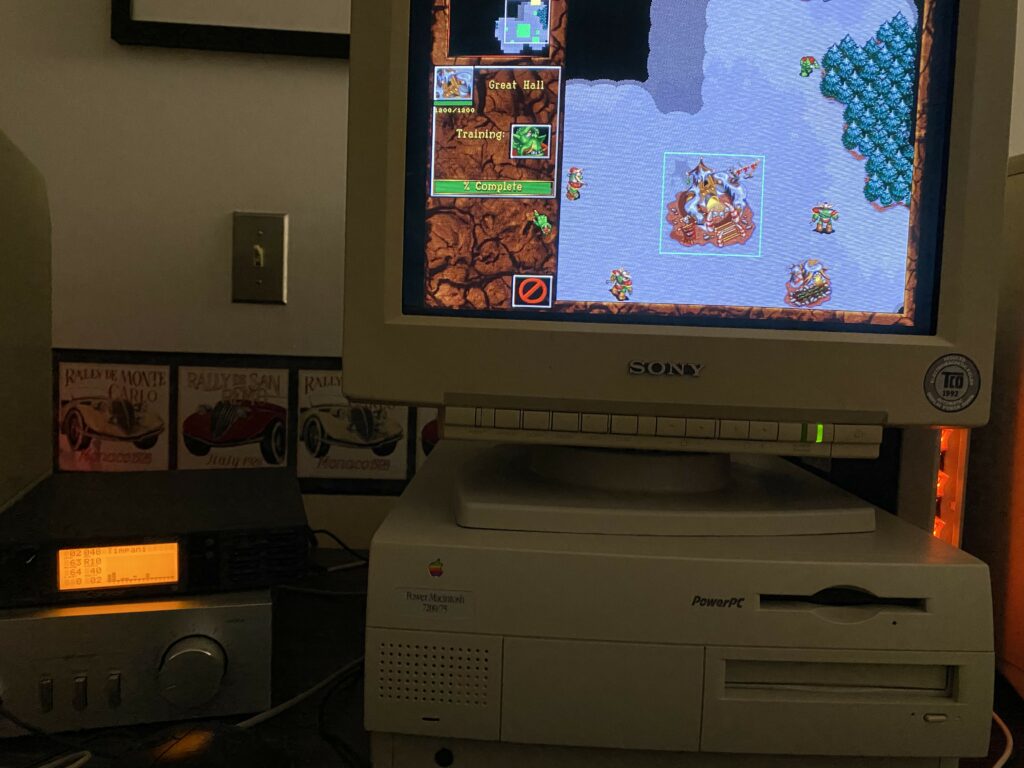
- Power Macintosh 7200/75 with stock everything
- Performa 6400/180, drive replaced with IDE->SD, has ATI PCI Graphics and PCI 10/100 Networking
- Micron PIII 500Mhz, running on IDE->SSD
- 486DX2 66, 32MB of RAM, S3 Virge Graphics, RT8139 networking, Yamaha ISA sound card, IDE->CF card for storage, flashed Gotek for floppy disks.
I did pick up a serial/PS2 Intellimouse that I’m still not sure if I want to open, since it’s sealed and new-in-box.

In all, this has become a new passion for me. And thanks to some foresight of my parents, I didn’t end up spending too much.